How Fog Harvesting Works: Could Britain Collect Water from Mist?
Fog nets can pull drinking water out of thin air, but does damp Britain have anything to gain? How the...

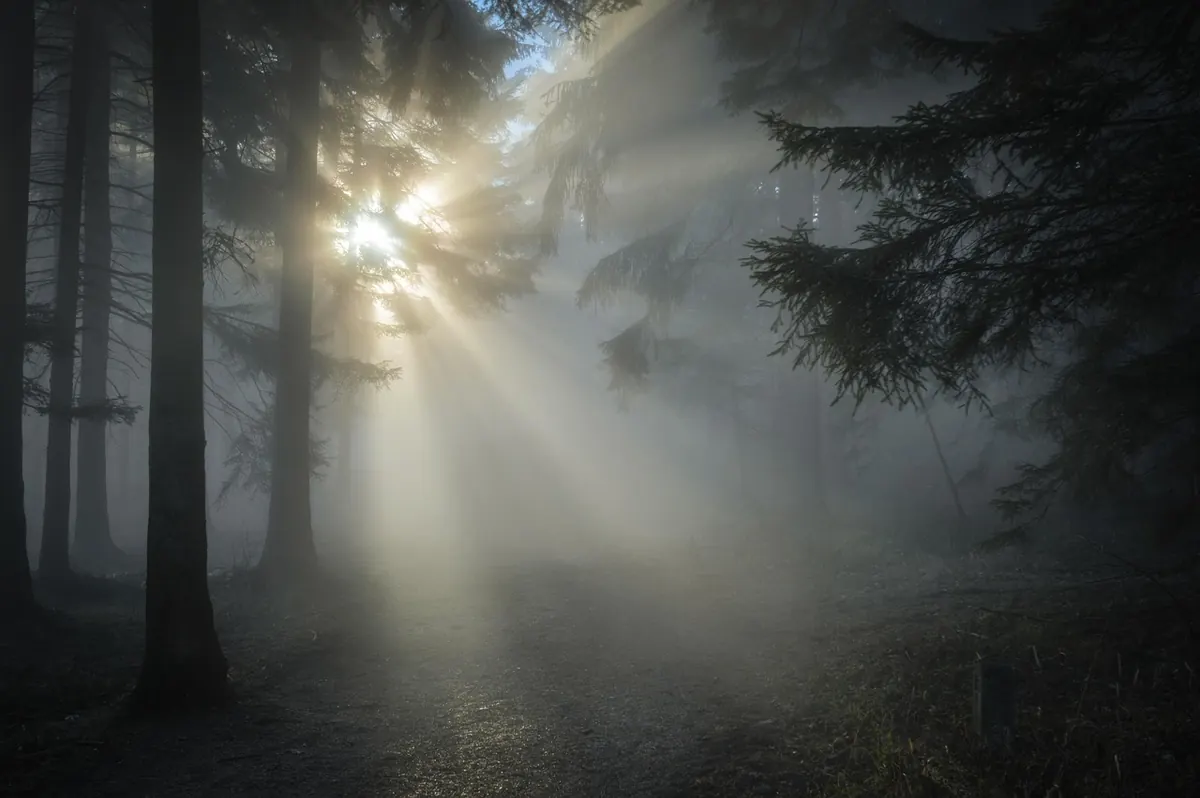
Fog does something rare to a wood: it removes everything you didn't want in the frame. Trunks become shapes, distances become guesses, and a cluttered tangle of branches turns into three or four clean layers of grey. The catch is that the camera doesn't see it the way you do. Left to its own devices it will expose brilliant fog as dull mid-grey and hand back a picture flatter than the morning felt. The settings below are the ones that fix that, and most of them take seconds to change.
Radiation fog — the shallow, still kind that pools in valleys and along rivers — forms on clear, calm nights when the ground cools quickly. It is thickest around dawn and starts lifting within an hour or so of sunrise, sometimes in patches, sometimes all at once. A small gap between air temperature and dew point, plus almost no wind, is your signal to set an alarm.
Any mature wood will do, but the best are the ones with some height difference in them. Fog sits low, so a slope, a stream or a sunken lane gives you depth to work with. School plantations and beech hangers are often better than famous beauty spots because you can walk in before anyone else and the fog has had all night to settle.
Your meter assumes the world averages out to a mid-tone. A frame full of white mist is nothing like that, so the camera darkens it and you lose the glow that made you stop walking. Set the camera to manual, meter roughly, then add exposure until the brightest mist in the frame sits just below clipping. On most cameras that means somewhere between +0.7 and +1.3 EV compared with the metered reading, though dark trunks against bright fog can push it the other way.
Check the histogram after the first shot, not the picture on the back. You want the peak sitting well to the right, with a little space before the edge. Switch on highlight warnings so blown patches show up. Where the fog is at its thinnest — often a gap in the canopy — you may have to accept a small area of pure white; better that than a dull, grey wood. Re-check every twenty minutes or so, because fog brightens and thickens faster than you expect.
Most woodland shooting lives between f/8 and f/11, where lenses are at their sharpest and there is enough depth of field to keep a mid-ground trunk crisp alongside the front of the frame. Go to f/16 only when you genuinely need it; on smaller sensors, diffraction starts softening fine twigs and you lose more than you gain. Open up to f/2.8 or f/4 when a single branch, berry cluster or bracken frond is the subject and you want the grey behind it to dissolve.
Fog moves, but slowly. On a still morning, half a second to several seconds lets drifting mist smear into soft bands and is one of the most rewarding things to do with a tripod in a wood. The catch is that leaves and twigs move far sooner than mist does, so anything longer than about 1/15 sec will blur foliage unless the air is genuinely dead. If there is any movement, stay around 1/60 to 1/125 sec and let the aperture and ISO do the rest. Base ISO keeps noise down and gives you the most room to lift shadows later.
Contrast is low in fog, and autofocus will hunt and miss. Switch to manual focus or a single small AF point and target a trunk edge you can actually see — usually in the second or third layer of trees, not the nearest one. On a tripod, magnify the live view and fine-tune. If you are working with a strong foreground of roots or stones, focus a third of the way in and stop down a little.
Think in layers rather than subjects. A good fog picture usually has a dark, almost black element close to the camera, a mid-tone trunk behind it, and then at least two bands of progressively paler grey. Your feet and your focal length control those bands: moving three metres sideways changes them more than any zoom ring will.
Tonal separation matters more than subject matter. Try these prompts when you arrive:
Vertical frames often suit woods; there is more trunk than horizon in most of them. And resist the urge to include everything — the strongest fog images are usually the simplest ones, with a single shape holding the middle of the frame.
Shoot raw so you can adjust white balance later. Fog is broadly neutral, sometimes faintly cool; a cloudy or shade preset is a reasonable starting point, or sample a patch of mist as your reference and let the trunks fall where they fall. Keep contrast gentle. Heavy dehaze or clarity sliders add local contrast and make fine mist look gritty and dirty — a small amount in the foreground alone is usually enough. Lift the greens slightly towards yellow, desaturate them a touch, and add a light vignette to pull the eye inwards. Noise reduction should be used sparingly; these files are mostly mid-tones and high tones, so they tolerate gentle treatment well.
Arrive early, work quickly, and let the light tell you when to stop.
Fog rarely lasts more than an hour or two, so decide what you came for and don't spend the best light fiddling. Wear boots you don't mind soaking, take a lens cloth in a dry pocket, and tell someone where you are going — signal is patchy in most woods and wet roots are slippery. Get the exposure right, keep the layers clean, and the mist will do the rest of the work for you.
Photo: pixifant / Pixabay
Fog nets can pull drinking water out of thin air, but does damp Britain have anything to gain? How the...
Fog is predictable if you plan for it. A practical pre-trip checklist covering visibility forecasts,...
Why do London's autumn mornings turn misty? Clear nights, the Thames valley, urban particles and still air...