How Fog Harvesting Works: Could Britain Collect Water from Mist?
Fog nets can pull drinking water out of thin air, but does damp Britain have anything to gain? How the...

You leave the house early, drive twenty minutes to the reservoir, and the far bank has gone. Something pale is sitting on the water, and the pictures you make in the next hour depend on exactly what that something is. Fog, mist and haze all reduce visibility, but they do it differently, with different colours and different moods. Photographers who can tell them apart choose the right lens and the right location instead of guessing. The distinctions take a paragraph to learn.
Meteorologists separate the three mainly by visibility and moisture. Fog is the thick one: visibility below roughly a thousand metres, with the air cooled to its dew point so tiny water droplets hang in it. Mist occupies the band between about one kilometre and ten, in air that is very damp indeed. Haze has nothing to do with droplets at all. It is dry particles — dust, smoke, pollen, pollution — suspended in air that is usually below about 95% humidity.
Translated for a camera, that gives you a neat rule. Fog is a wall. Mist is a veil. Haze is a tint.
The way each one forms tells you when to go looking. Radiation fog settles on clear, still nights when the ground chills the air above it, which is why it often pools in valleys and burns off an hour or so after sunrise. Sea fog arrives on a damp airstream moving over cold water and can hang about all day. Freezing fog leaves rime on branches and railings, which is worth the cold fingers. Haze builds slowly and lingers, especially over cities in summer.
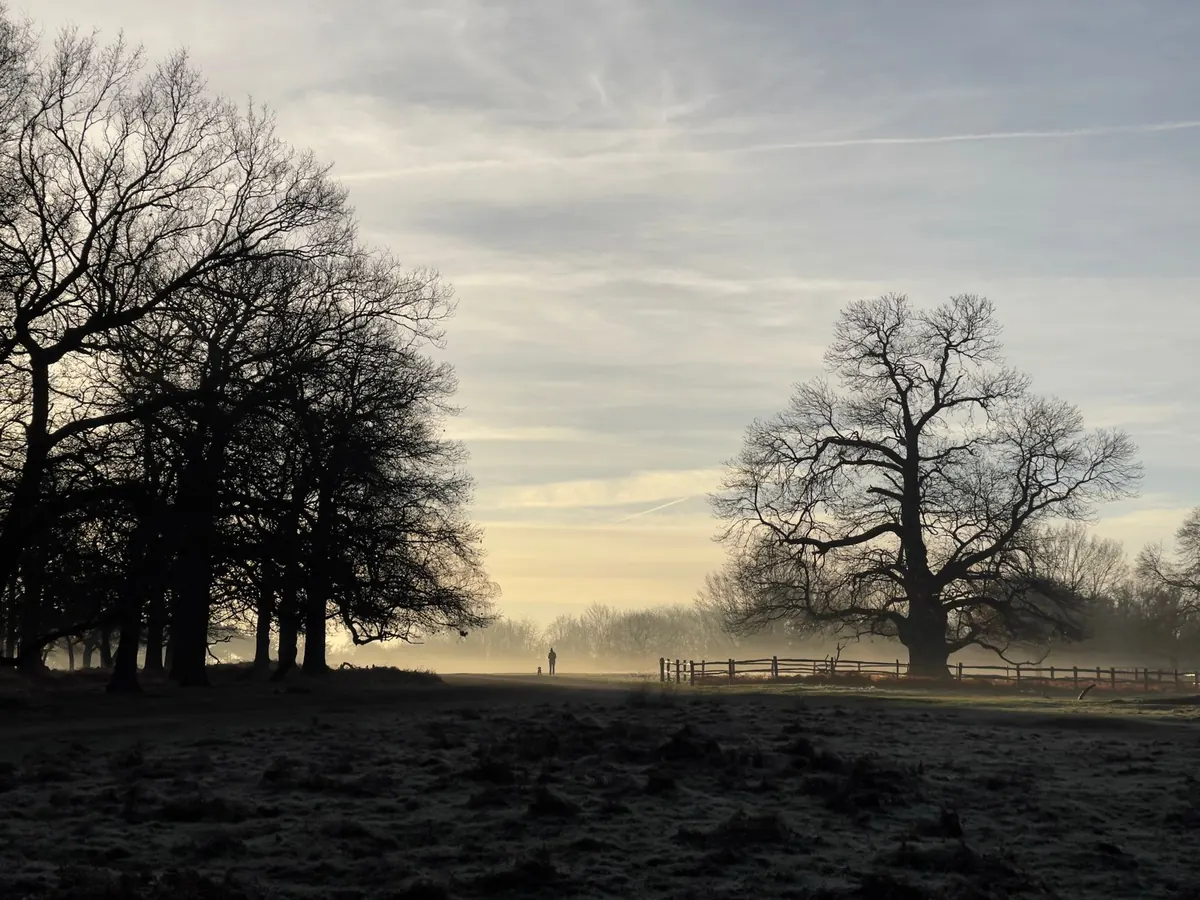
Fog removes detail and leaves shape. That is its gift. A row of trees becomes a set of silhouettes; a pier becomes a line; a shoreline becomes a band of grey. Highlights soften until shadows almost disappear, so tonal separation comes from distance rather than from the direction of light. Anything close to the lens reads dark against the pale background, which is why a single figure, a post or a bare branch can carry an entire frame.
Look for receding layers — ridge behind ridge, fence post behind fence post — and use a longer lens to compress them. Wide angles can work, but they often make fog look smaller and emptier than it felt at the time.
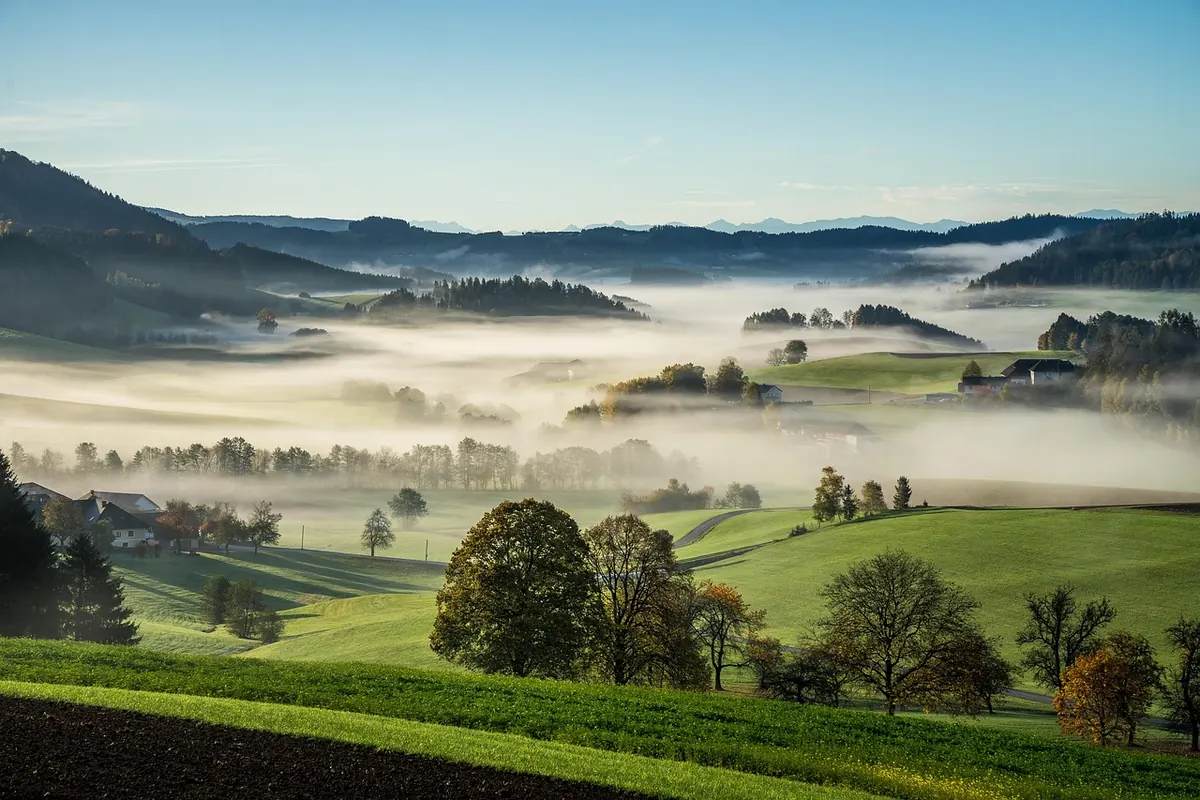
Mist rarely covers everything. It lies in hollows, drifts across fields and thins as the sun climbs, revealing and concealing the scene in turn. You can photograph inside it rather than through it, which means foregrounds stay usable and colour survives. Water meadows at dawn, cobwebs in a hedge, a quiet lane in autumn: this is mist territory. It is also the shortest-lived of the three, so arrive early and work quickly.
Haze scatters light, so distant objects lose contrast and pick up a cast. Hills turn into flat plates of pale blue or amber, and a long lens stacks them into bands. It is wonderful for layered panoramas and for backlit afternoons when the sun is low and the air is thick. It is hopeless for crisp architecture or detailed cityscapes, because no amount of sharpening will bring back contrast that was never recorded.
Fog runs cool: cyan, grey, sometimes a magenta wash under street lighting. The mood is quiet, secretive and minimal, which suits square crops and lots of empty space.
Mist is pastel, and at dawn it turns gold and pink faster than you expect. It is the most forgiving of the three for colour work, and the easiest to make look romantic without trying.
Haze is warm — amber, brown-grey, dusty. It gives sunsets their bleed and long views their tired, end-of-summer feel.
Auto white balance often misreads all three. Fog in particular can drift blue or sickly green. Setting daylight white balance, or shooting raw and deciding later, keeps you in control. A grey card costs nothing to carry and settles the argument in seconds.
Bright fog fools a camera meter, which tries to render it as mid-grey and turns your beautiful pale morning into something muddy. Add exposure compensation — start at plus one stop and check the histogram. You want the fog tones sitting high in the histogram without clipping. Metering for the brightest part of the scene and letting the shadows fall is usually the safer approach.
Autofocus hunts when contrast disappears. Switch to a single point and aim it at a defined edge, or focus manually a third of the way into the scene and stop down a little. A tripod helps when you are working slowly in low light, and it keeps your framing steady while you fiddle with settings.
Choose the subject to fit the weather, rather than hoping the weather will flatter the subject.
If you are driving between spots, give fog the respect it deserves: dipped headlights, plenty of distance, no heroics on country lanes. Then park up, walk a little, and let the scene come to you. The softest light of the year is usually the light most people stay indoors for.
Fog nets can pull drinking water out of thin air, but does damp Britain have anything to gain? How the...
Fog is predictable if you plan for it. A practical pre-trip checklist covering visibility forecasts,...
Why do London's autumn mornings turn misty? Clear nights, the Thames valley, urban particles and still air...